Introduction
Once you’ve mastered basic ripping and crosscutting, the table saw can do far more than just straight cuts. By learning advanced techniques like dadoes, rabbets, and cove cuts, you unlock the ability to create strong joinery, decorative profiles, and custom woodworking designs—all without buying additional specialty tools.
In this guide, we’ll cover:
- What each cut is used for
- The tools and setup you’ll need
- Step-by-step instructions for perfect results
- Pro tips for safety and precision
These techniques are ideal for furniture making, cabinetry, and decorative woodworking projects.
Understanding the Cuts
Before we dive in, let’s define each cut:
- Dado – A flat-bottomed channel cut across or along the grain, used for fitting shelves, dividers, or panels.
- Rabbet – A step-like cut along the edge of a board, often used to fit the back panel of cabinets or frames.
- Cove – A concave, curved profile cut across the grain for decorative molding or edge treatments.
Tools and Accessories You’ll Need
- Table Saw (any good contractor or cabinet saw will do)
- Dado Blade Set (for dadoes and rabbets)
- Standard Combination Blade (for coves)
- Featherboards (to hold workpiece securely)
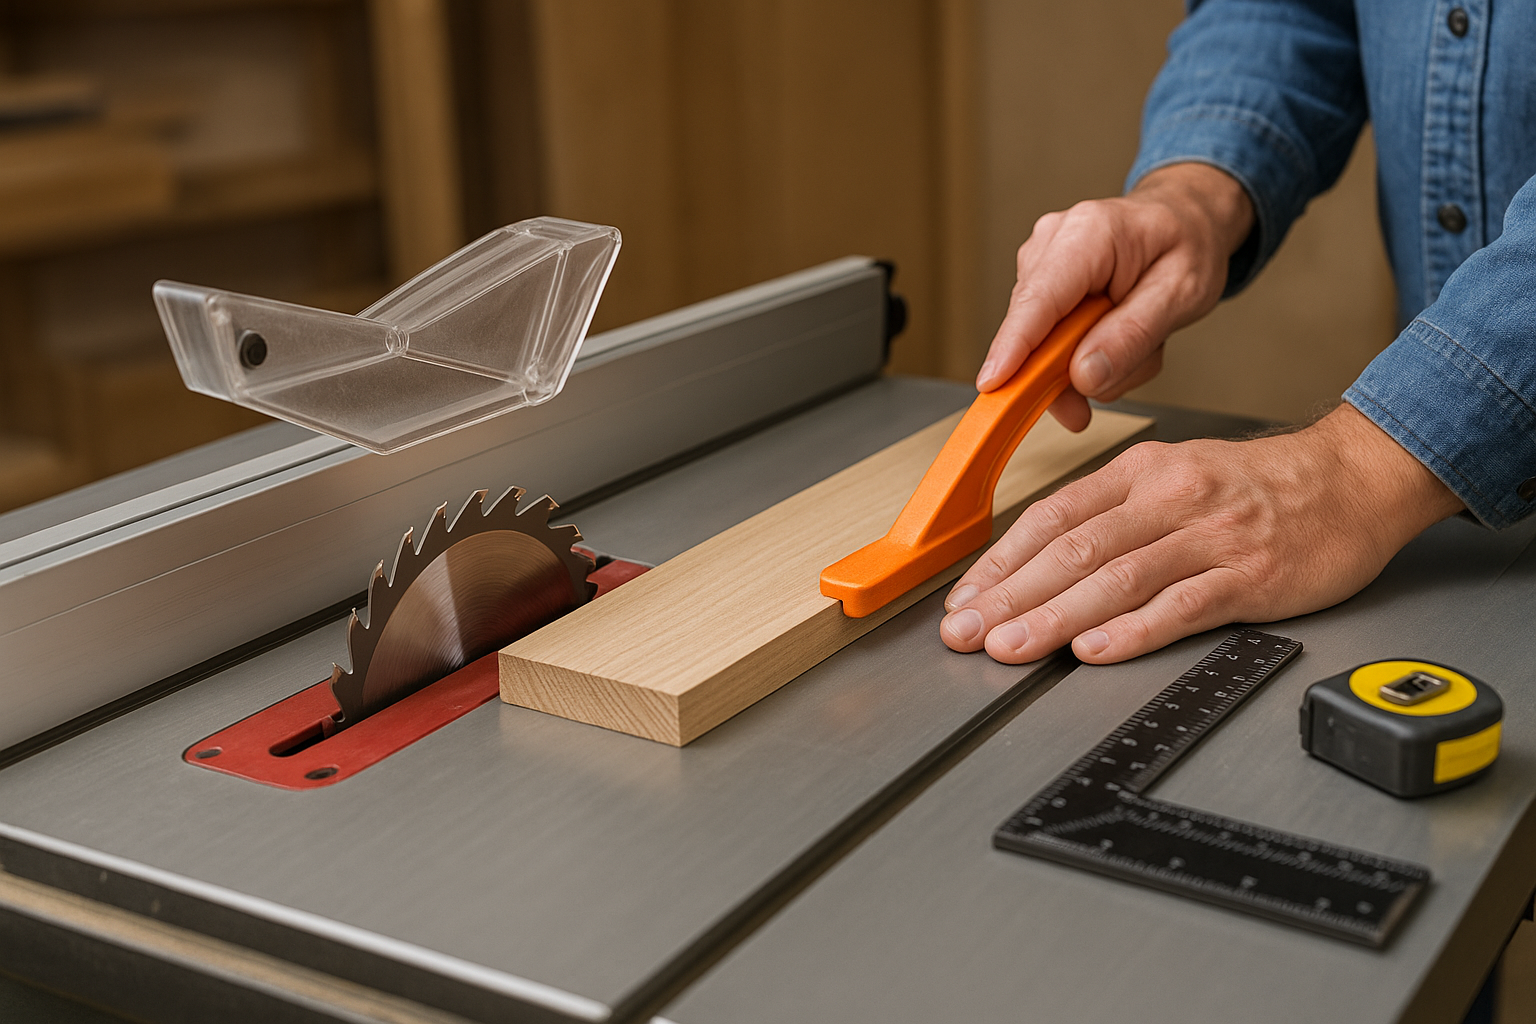
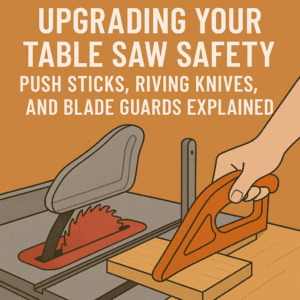
- Push Sticks & Push Blocks (for safety)
- Sacrificial Fence (to prevent blade damage when cutting rabbets)
- Marking Tools (pencil, square, marking gauge)
How to Cut a Dado on a Table Saw
Step 1 – Install a Dado Blade Set
- Remove your standard blade and install the dado stack.
- Adjust blade width by adding or removing chippers.
- Ensure all chippers and blades are aligned and tight.
Step 2 – Set Blade Height
- Height should match the depth of the dado you need (commonly 1/4″ to 3/8″).
Step 3 – Position the Fence or Miter Gauge
- Cross-grain dado: Use the miter gauge with a backing board to prevent tear-out.
- Along-grain dado: Use the rip fence.
Step 4 – Make Multiple Passes (If Needed)
- For wide dadoes, make overlapping passes until desired width is reached.
Pro Tip: For perfect-fitting joints, cut a test dado on scrap wood and check fit before working on the actual piece.
How to Cut a Rabbet on a Table Saw
Step 1 – Install a Dado Blade or Standard Blade
- Dado blade makes it faster, but a standard blade can be used with multiple passes.
Step 2 – Set Blade Height and Fence
- Height = depth of rabbet.
- Fence = width of rabbet.
- Use a sacrificial fence to allow blade clearance.
Step 3 – Make the Cut
- Run the edge of the board along the fence so the blade removes material from the side.
- Flip the board if needed for two-pass rabbets.
Common Uses: Cabinet backs, window frames, picture frames.
How to Cut a Cove on a Table Saw
Cove cuts are unique—they’re cut across the blade at an angle, not along it.
Step 1 – Remove Blade Guard
- Cove cutting requires a special setup, so remove guard only for this cut and replace immediately afterward.
Step 2 – Set the Fence at an Angle
- Angle determines cove width.
- The board travels diagonally across the spinning blade.
Step 3 – Make Multiple Shallow Passes
- Raise the blade slightly with each pass until desired depth is reached.
- Do not attempt a full-depth cut in one pass—this can be dangerous.
Pro Tip: Sand cove cuts after cutting for a smooth, decorative finish.
Safety Tips for Advanced Cuts
- Always use push sticks or push blocks to keep hands away from the blade.
- Stand slightly to the side of the blade path.
- Never remove the riving knife unless required (and reinstall immediately after).
- For dado and rabbet cuts, ensure the workpiece is supported at both infeed and outfeed ends.
- Use dust collection—these cuts generate more chips than standard rips.
Troubleshooting Common Issues
- Tear-out at edges: Use a backing board when crosscutting dadoes.
- Loose joint fit: Reduce blade width slightly and make another pass.
- Burn marks: Check blade sharpness and feed rate.
- Uneven cove shape: Verify consistent feed angle and depth across passes.
Conclusion
Learning to cut dadoes, rabbets, and coves with a table saw opens up a world of woodworking possibilities. Whether you’re building cabinetry, furniture, or adding decorative details, mastering these techniques will make your work stronger, cleaner, and more professional.
Start with test cuts on scrap material, focus on safety, and you’ll soon be incorporating these advanced cuts into your projects with confidence.
Anns is a contributor at TableSawGuide. We are committed to providing well-researched, accurate, and valuable content to our readers.
Leave a Comment
Share your thoughts, ask questions, or contribute to the woodworking community!