Introduction
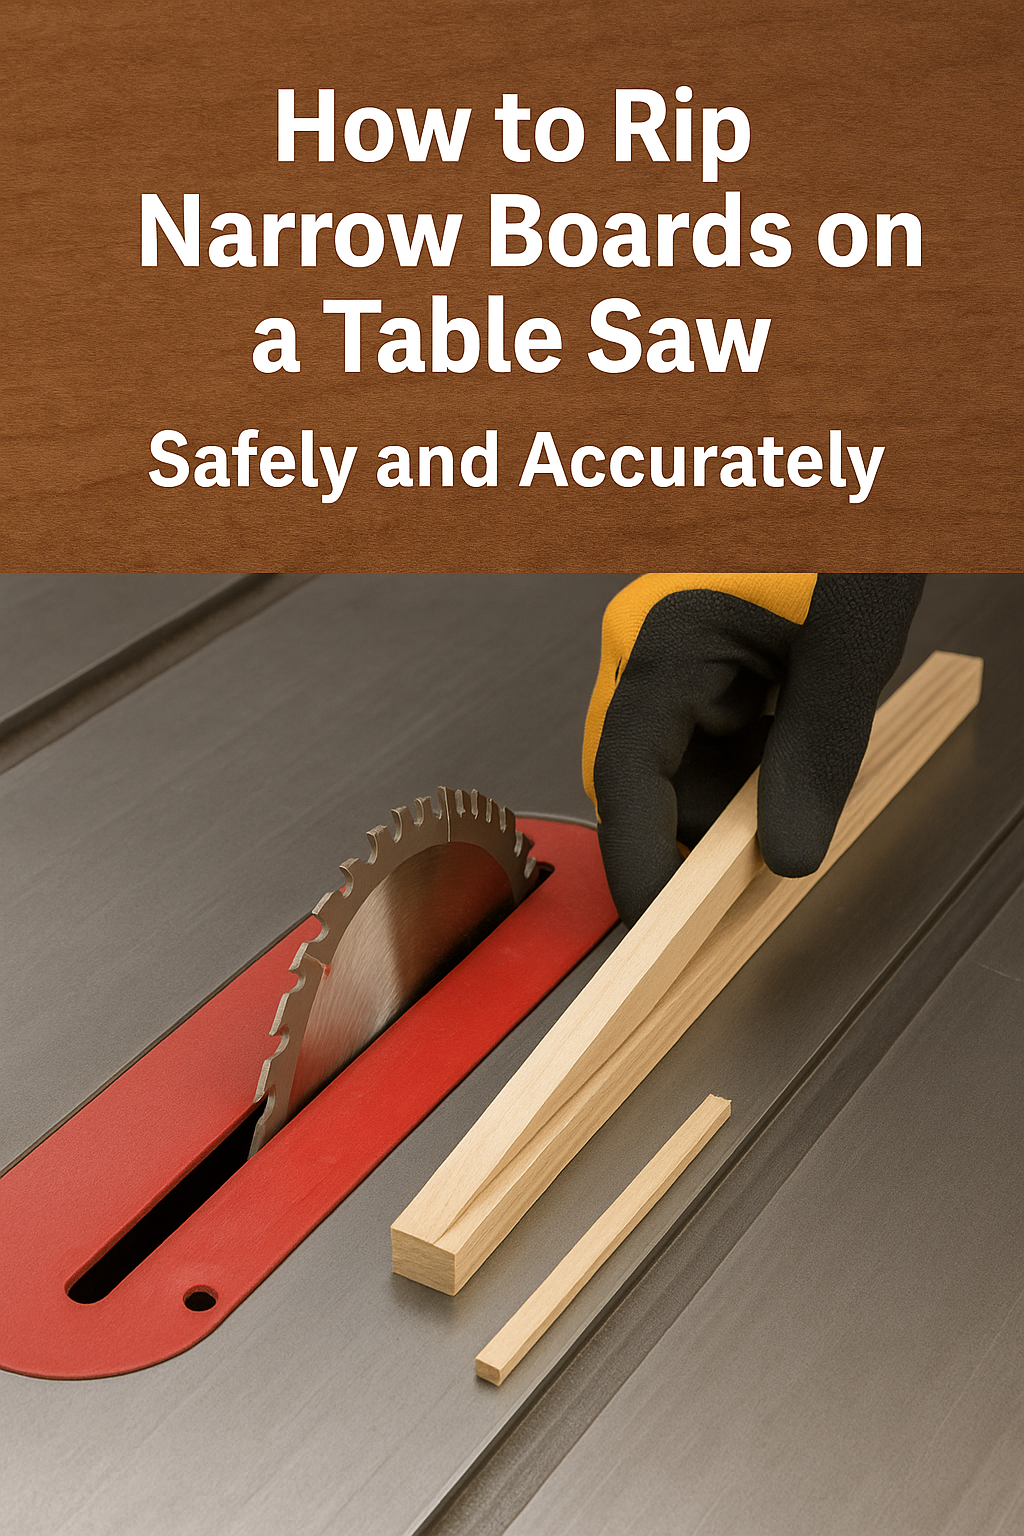
Ripping a narrow board on a table saw is one of the most challenging — and potentially dangerous — cuts in woodworking.
The problem? Your hands need to feed the workpiece close to the spinning blade while maintaining accuracy and control.
The good news is that with the right tools, setup, and cutting techniques, you can rip narrow boards safely and precisely every time.
What Counts as a Narrow Board?
In table saw safety terms, a narrow board is typically any rip cut less than 3 inches wide.
At this width, your hands naturally come closer to the blade, increasing risk if proper tools aren’t used.
Safety Risks When Ripping Narrow Boards
- Kickback – The blade catches the workpiece and throws it back toward you.
- Hand contact with blade – Too little clearance for safe feeding.
- Loss of control – Narrow boards can shift sideways if not guided properly.
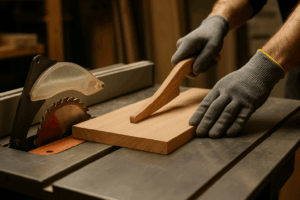
Essential Safety Gear
- Push sticks or push blocks – Keep hands away from the blade.
- Featherboards – Hold the workpiece firmly against the fence.
- Riving knife or splitter – Prevents kerf from closing behind the blade.
- Safety glasses & hearing protection – Always wear them.
Tools & Accessories for Safer Narrow Rips
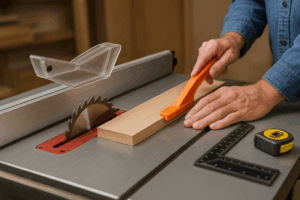
- Standard Push Stick – For rips down to about 2 inches.
- Push Block (like GRR-RIPPER) – Allows safe control even for cuts under 1 inch.
- Featherboards – Mount to the table or fence to keep stock pressed sideways.
- Zero-Clearance Insert – Prevents small pieces from falling into the blade slot.
- Auxiliary Rip Fence – Raises the fence above the table to reduce binding.
Step-by-Step: Ripping Narrow Boards Safely
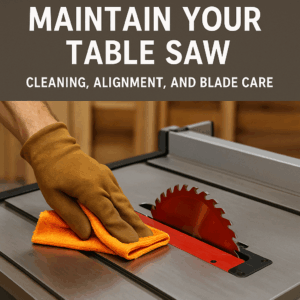
Step 1: Prepare Your Table Saw
- Unplug the saw and check blade sharpness.
- Ensure the fence is parallel to the blade.
- Install riving knife and zero-clearance insert.
Step 2: Set the Fence
- Position the fence for your desired cut width.
- Lock it securely.
- Double-check the measurement from both the front and back of the blade to ensure alignment.
Step 3: Add Safety Accessories
- Attach featherboards to hold the workpiece against the fence.
- Keep your push stick/block within easy reach.
Step 4: Position Your Body
- Stand slightly to the side of the cut line (never directly behind the blade).
- Keep feet shoulder-width apart for balance.
Step 5: Feed the Workpiece
- Hold the board firmly against the fence with your lead hand (well ahead of the blade).
- Use the push stick to guide the last portion through.
- Maintain a steady, even feed rate — avoid stopping mid-cut.
Step 6: Complete the Cut Safely
- Push the workpiece fully past the blade before removing your push stick.
- Wait for the blade to stop completely before retrieving cutoffs.
Special Techniques for Very Narrow Rips
If ripping under 1 inch:
- Use a GRR-RIPPER push block or similar that straddles the blade.
- Alternatively, rip a wider piece and then re-rip to final size — keeping hands safer on the first pass.
Avoid These Common Mistakes
- Freehand cutting – Always use the rip fence for guidance.
- Removing riving knife unnecessarily – Only take it off for non-through cuts.
- Standing directly behind the blade – Increases kickback injury risk.
- Using dull blades – Requires more force and increases binding.
Pro Tips for Cleaner Narrow Rips
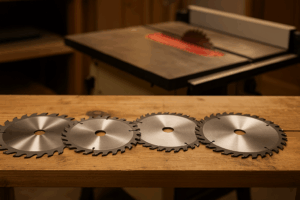
- Use a rip blade (24-tooth for hardwood, 40-tooth for general use).
- Apply paste wax to the table and fence for smoother feeding.
- Check for warped boards before cutting — they can bind easily.
Conclusion
Ripping narrow boards on a table saw doesn’t have to be risky — but it does require discipline.
By combining the right tools, proper stance, and consistent safety practices, you can make clean, accurate, and safe cuts every time.
Anns is a contributor at TableSawGuide. We are committed to providing well-researched, accurate, and valuable content to our readers.
You May Also Like
About the Author
Related Articles
Leave a Comment
Share your thoughts, ask questions, or contribute to the woodworking community!