
Introduction
Dados and grooves are essential joinery cuts used in woodworking for strength and precision.
Whether you’re building a bookshelf, cabinet, or drawer, knowing how to cut them accurately on a table saw will take your woodworking skills to the next level.
In this guide, we’ll cover:
- The difference between dados and grooves
- Tools and blades you need
- Step-by-step cutting techniques
- Safety tips and pro tricks for perfect results
What Are Dados and Grooves?
- Dado: A slot cut across the grain of the wood.
- Groove: A slot cut with the grain of the wood.
Both are used to hold panels, shelves, or other boards snugly in place for strong, hidden joints.
Tools & Blades Needed
- Table Saw with Adjustable Fence
- Dado Blade Set – Stacked dado set or wobble blade for wider cuts.
- Standard Rip or Crosscut Blade – For narrow grooves.
- Zero-Clearance Insert – Reduces tear-out on slot edges.
- Featherboards – Keep workpiece tight against the fence.
- Push Stick or Push Block – For safe feeding.
Step 1: Choose the Right Blade
- For wide dados/grooves (1/4″ to 3/4″), use a stacked dado set.
- For narrow slots (under 1/4″), use your standard blade and make multiple passes.
Pro Tip: Stacked dado sets produce cleaner, flatter-bottom cuts than wobble dado blades.
Step 2: Mark Your Cut
- Use a pencil or marking knife to outline where the dado/groove will be.
- For critical joints, mark both edges of the cut to guide your setup.
Step 3: Set Up Your Blade Height
- Blade height should equal the depth of the slot — usually 1/3 the thickness of the board for strength.
- Example: For 3/4″ plywood, set blade height to 1/4″.
Step 4: Set the Fence or Miter Gauge
- For grooves (with grain): Use the rip fence for guidance.
- For dados (across grain): Use the miter gauge or a crosscut sled for accuracy.
Step 5: Make the Cut
For Dado Blade Sets:
- Install the dado stack to match your slot width.
- Position your workpiece and feed steadily through the blade.
For Standard Blades:
- Make the first pass along one edge of the slot.
- Shift the fence slightly and make a second pass.
- Repeat until the slot is at full width.
Step 6: Test the Fit
- Use a scrap piece of the mating board to test the fit.
- Adjust fence or blade setup if the slot is too tight or loose.
Step 7: Repeat for Multiple Pieces
- For cabinet or shelf projects, ensure each dado/groove is identical in size and position.
- Use a stop block for repeatability.
Safety Tips
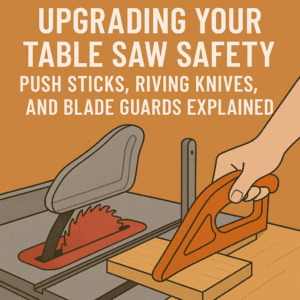
- Always use a push stick or push block to keep hands away from the blade.
- Never cut dados or grooves without proper workpiece support (sled, gauge, or fence).
- Wear safety glasses and hearing protection.
Pro Tips for Cleaner Dados & Grooves
- Use a zero-clearance insert for crisp slot edges.
- Slow, steady feed rate prevents tear-out.
- For plywood, use a scoring cut — raise blade just enough to nick the surface, then make the full-depth cut.
Common Mistakes to Avoid
- Cutting too deep — weakens the board.
- Feeding too fast — causes rough edges.
- Forgetting test cuts — can lead to poor-fitting joints.
Conclusion
Cutting dados and grooves on a table saw is a fundamental woodworking skill that improves both strength and precision in your projects.
With the right blade, proper setup, and attention to detail, you can achieve professional-quality joinery every time.
About the Author
Related Articles

Leave a Comment
Share your thoughts, ask questions, or contribute to the woodworking community!